

How To Adjust Flood Light Settings
Installing the Blink Floodlight
The following easy steps explain how to install and mount your Blink Floodlight. Y'all must first accept a Blink Outdoor camera gear up in your Glimmer account, before attaching the photographic camera to the mount.
Note: Other Glimmer outdoor cameras (XT or XT2) are not compatible with the floodlight. Click here for instructions on how to add your Outdoor camera to your account.
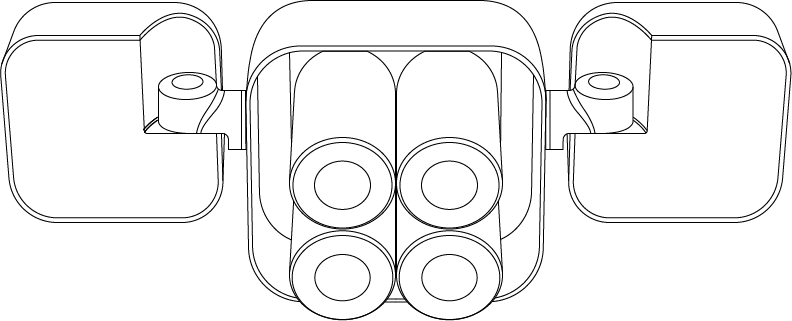
1. Twist to remove the dorsum cover of the Floodlight mount and press the side buttons on the bombardment lid to open the battery compartment. Then remove the battery pull-tabs. If your pull tab is missing or cleaved, please ensure both positive and negative ends of each battery are clear of whatsoever coverings and then reattempt installation.
In one case the batteries are installed, close the compartment and reattach the back encompass. The LEDs will blink brightly once the back cover is fastened, so it is advisable to look away to avoid direct lite exposure.
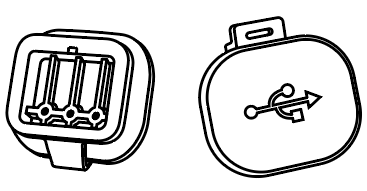
2. Completely remove the back and USB port covers from your Glimmer Outdoor photographic camera. Removing the USB cover will ensure y'all have an optimal weather condition resistant seal between the micro-USB cable and your camera.
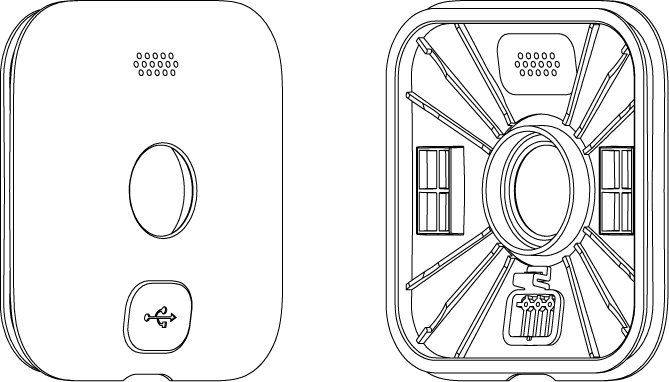
Once the USB embrace is fully removed, reattached the back cover on your Blink Outdoor camera. Click here to larn more almost how to remove and attach the dorsum comprehend on your Blink Outdoor camera.
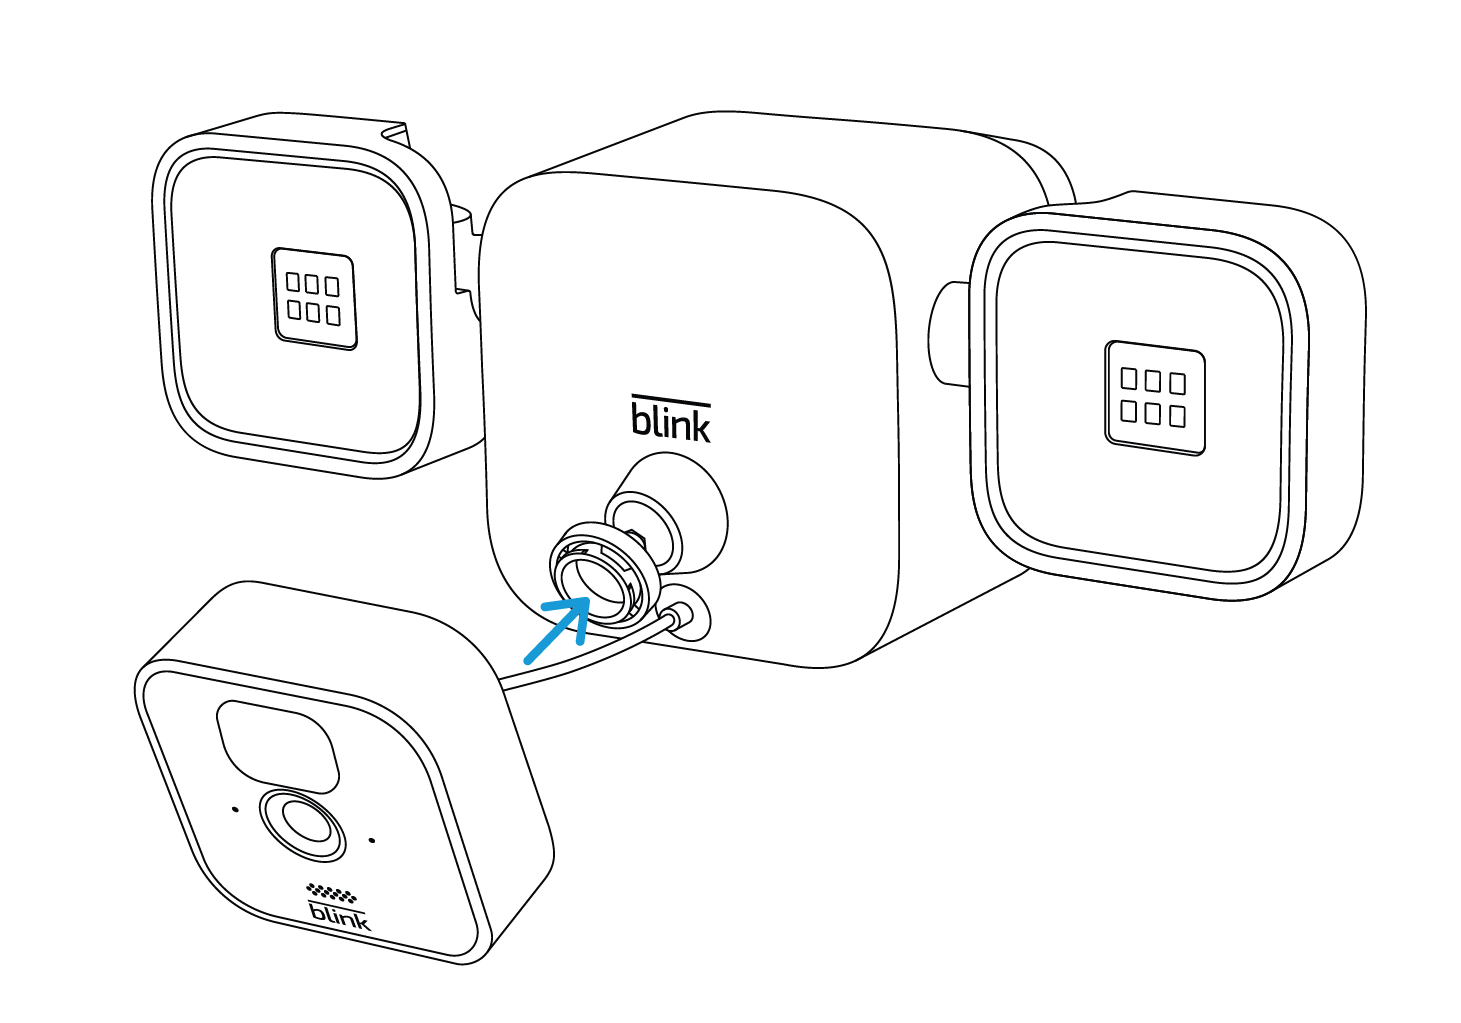
3. Firmly plug the Floodlight'due south micro-USB cable into your outdoor camera, making certain that you have a tight seal on all sides.
![]()
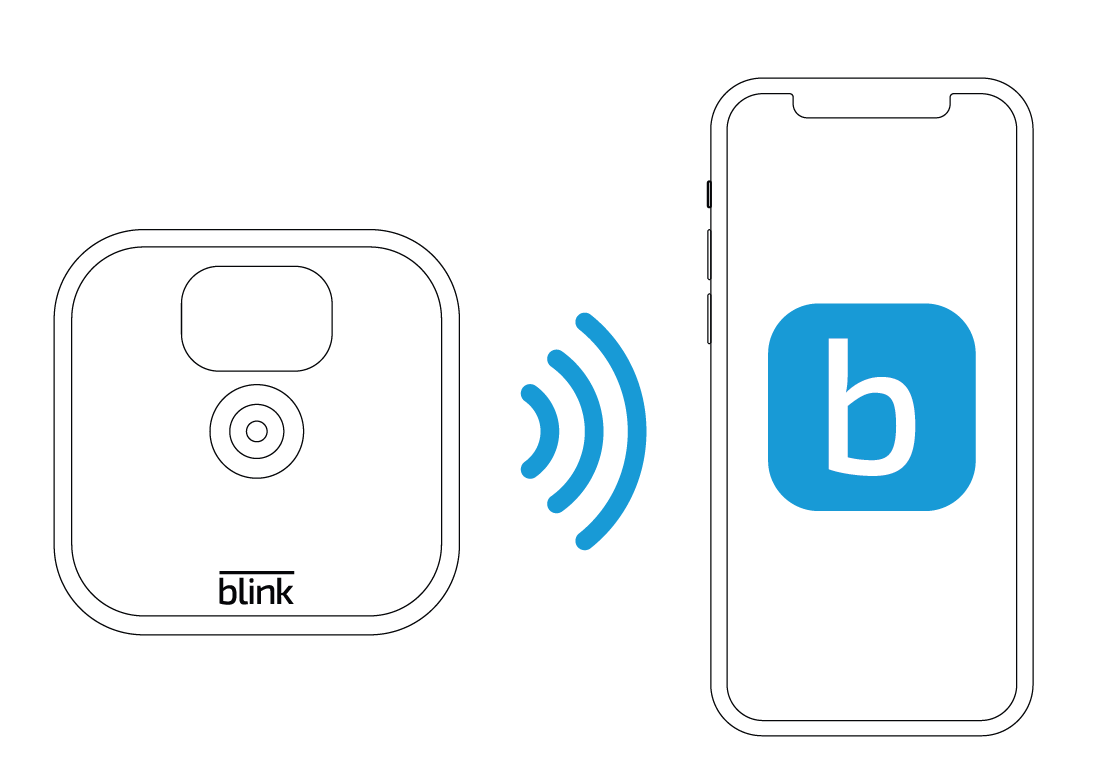
The floodlight will self configure when y'all plug in your Outdoor camera and you lot will receive notifications on your mobile device that your floodlight is connected, likewise as added to your camera. The notification on your Glimmer app home screen may only appear when you lot have a newly added outdoor camera and is not necessary for your floodlight to function correctly.
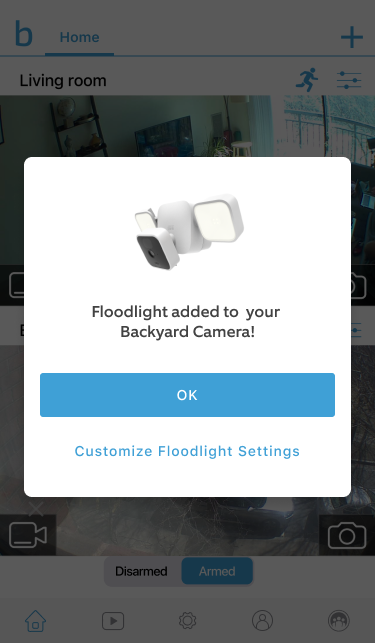
Later your Blink Floodlight is added to your account, the app abode screen will display two bulb icons at the bottom of your outdoor camera'south thumbnail.

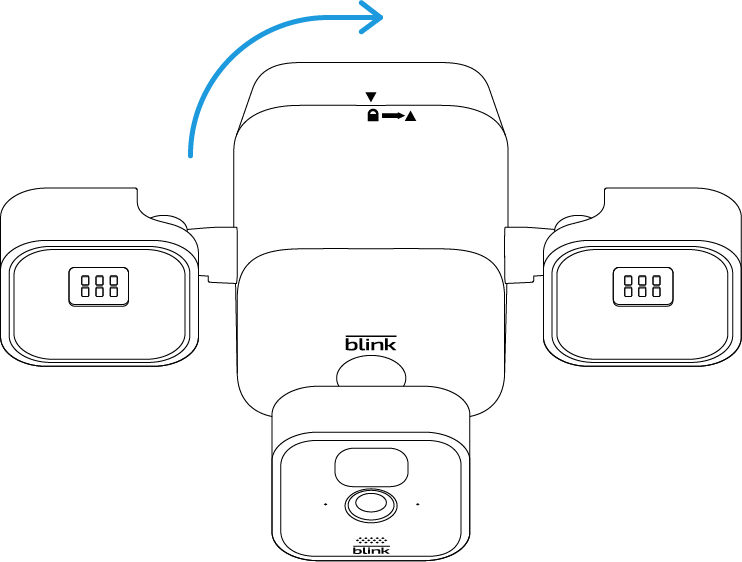
4. Snap your camera onto the mountain.
5. Y'all can mount your Blink Floodlight anywhere around your home using the included mounting kit and the 1 ane/2" Phillips caput screws, or take advantage of no-drill installation with the included mounting bracket. If you install the floodlight on vinyl siding, the curved top office of the metallic bracket fits under the bottom of the siding panel.
| | |
| Wall Installation | No-Drill Installation for Vinyl Siding |
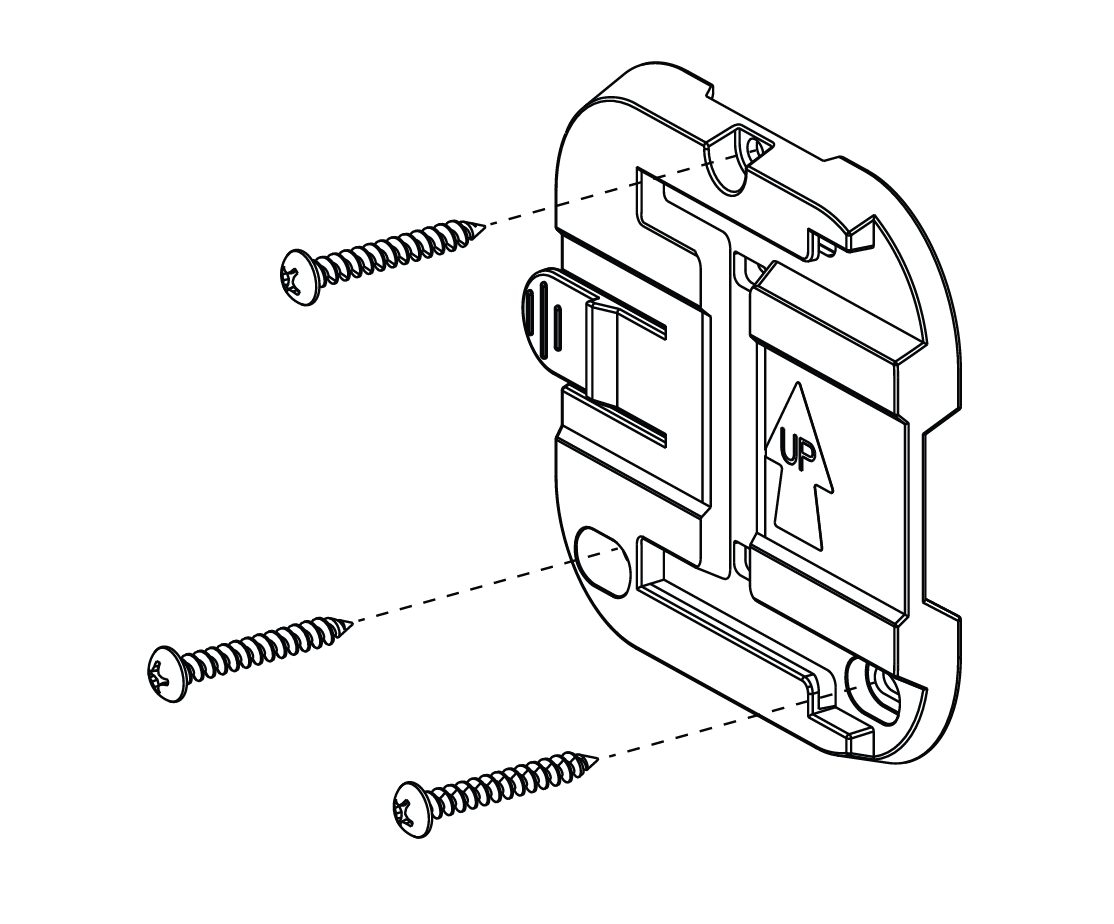
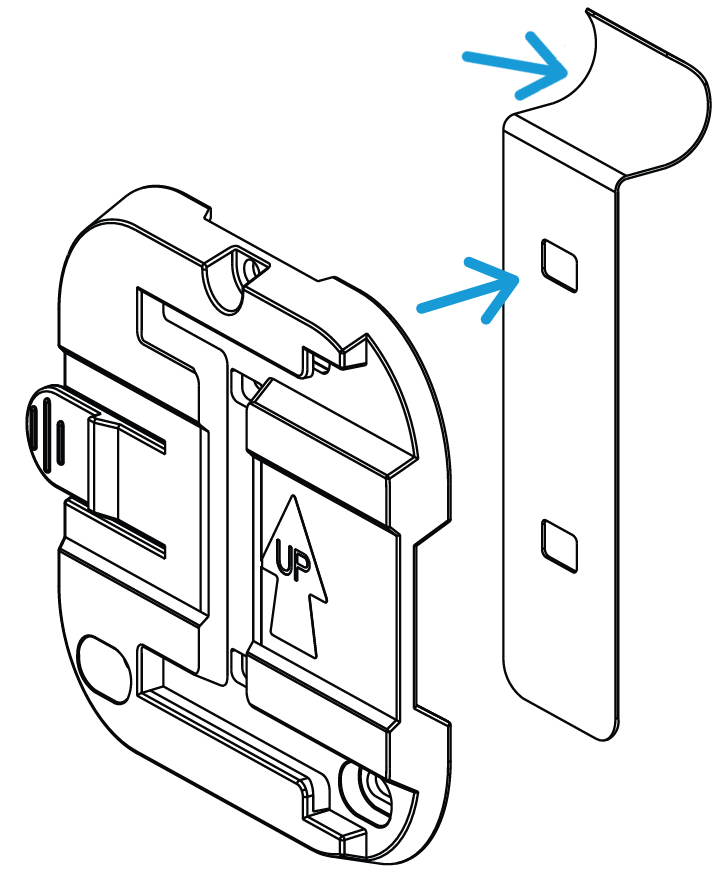
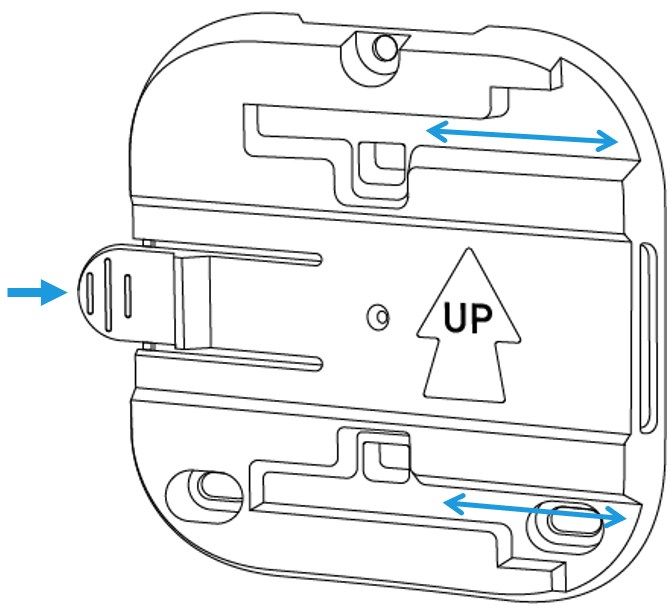
The back embrace and mounting bracket are designed for mounting on trees or fences. One time the bracket is mounted in a desired location, slide the floodlight left until it clicks into identify. To remove information technology from the mountain, push the tab on the left side of the subclass forward and slide the floodlight right.
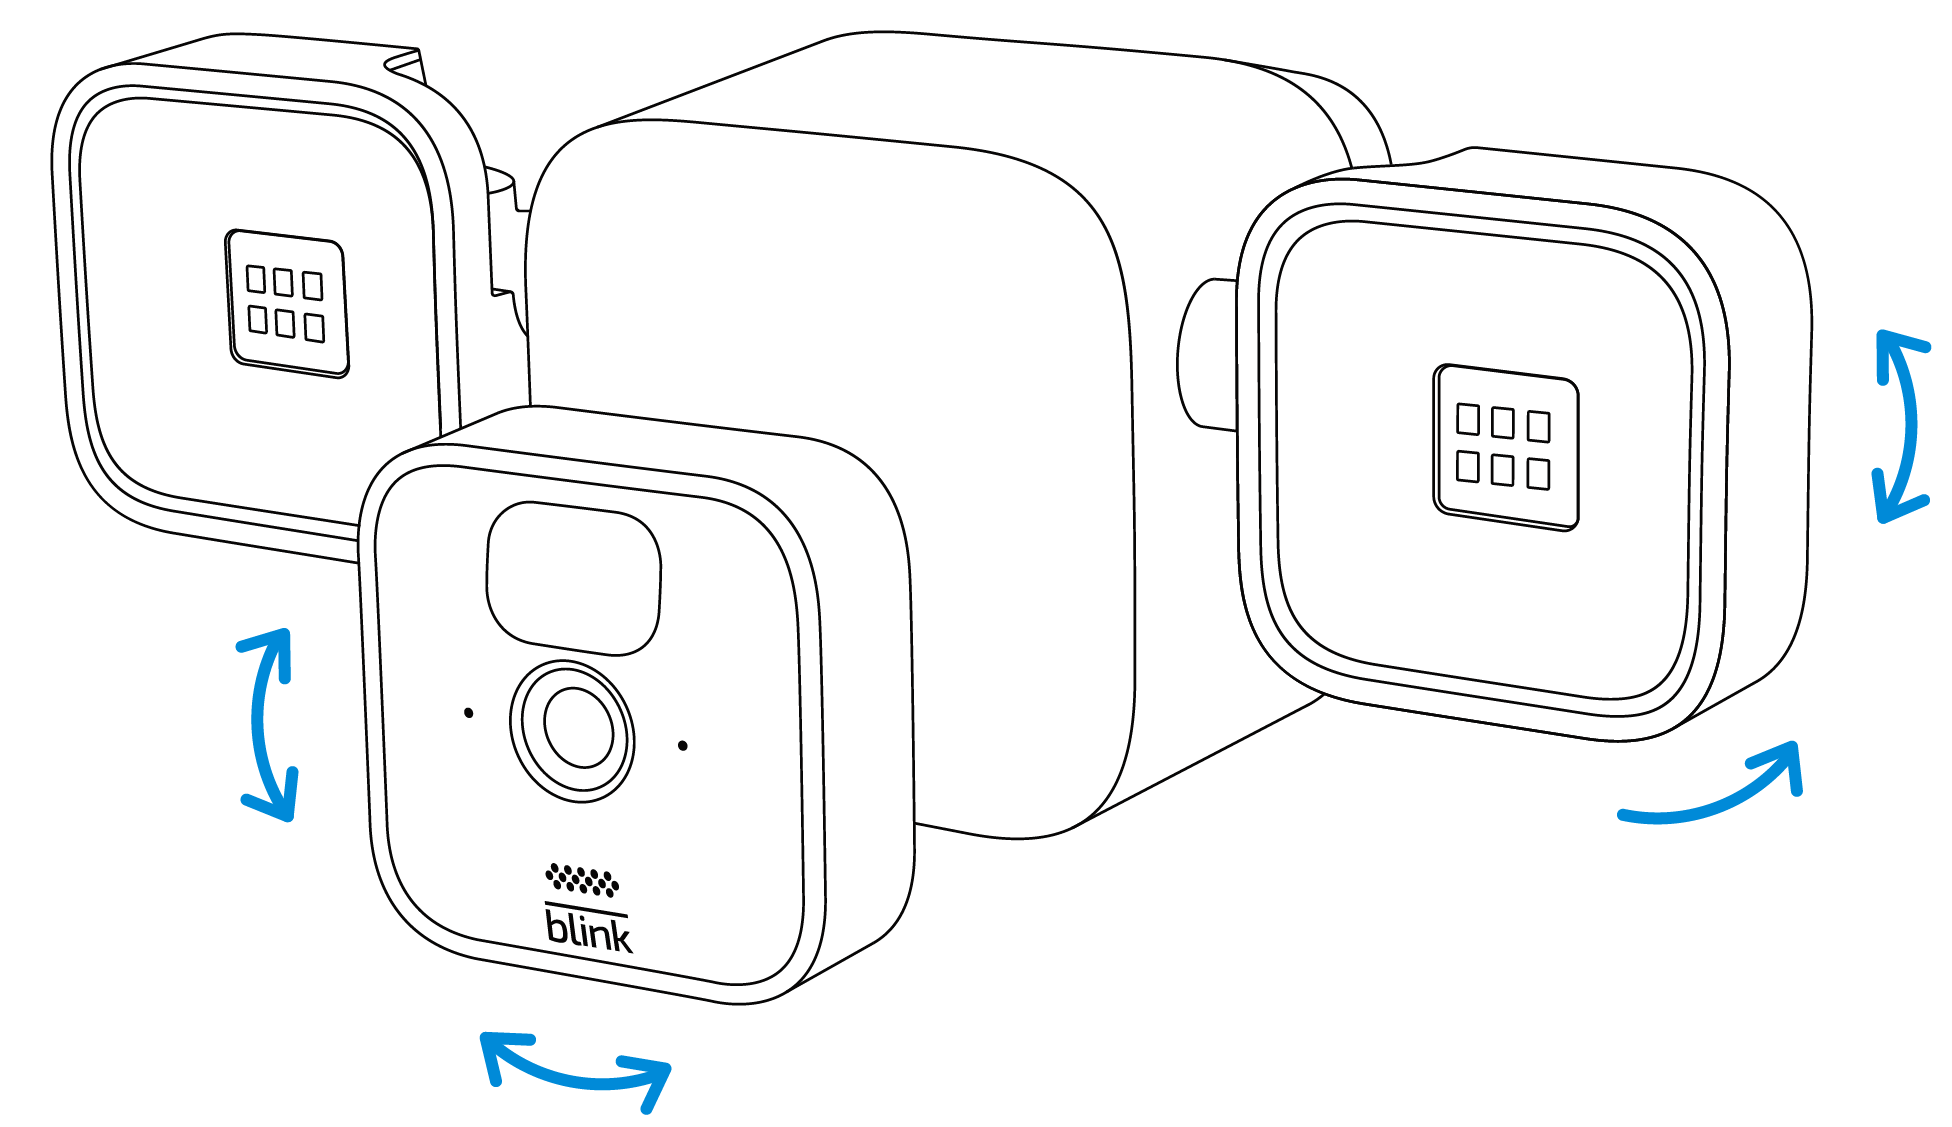
The light panels on the floodlight tin can exist adjusted up or down, likewise equally away from the Blink Outdoor camera, to provide maximum light coverage. In improver, the Outdoor camera tin exist adjusted on the mountain for optimal viewing.

How To Adjust Flood Light Settings,
Source: https://support.blinkforhome.com/blink-scheinwerferhalterung/installing-the-blink-floodlight
Posted by: ramoswifeephery1937.blogspot.com
0 Response to "How To Adjust Flood Light Settings"
Post a Comment